How to Fix a Punctured Bike Tire
Having a punctured bike tire can be frustrating, but fear not! With a few simple tools and our step-by-step instructions, you’ll be back on the road in no time.

This guide will walk you through the process of identifying the puncture, removing and repairing/replacing the tube, and reassembling the tire correctly. Remember to adhere to safety precautions throughout the process.
Tools Required:
- Bike tire patch kit or spare tube
- Tire levers (at least two)
- Pump or air compressor
- Bucket of water
- Rag or towel
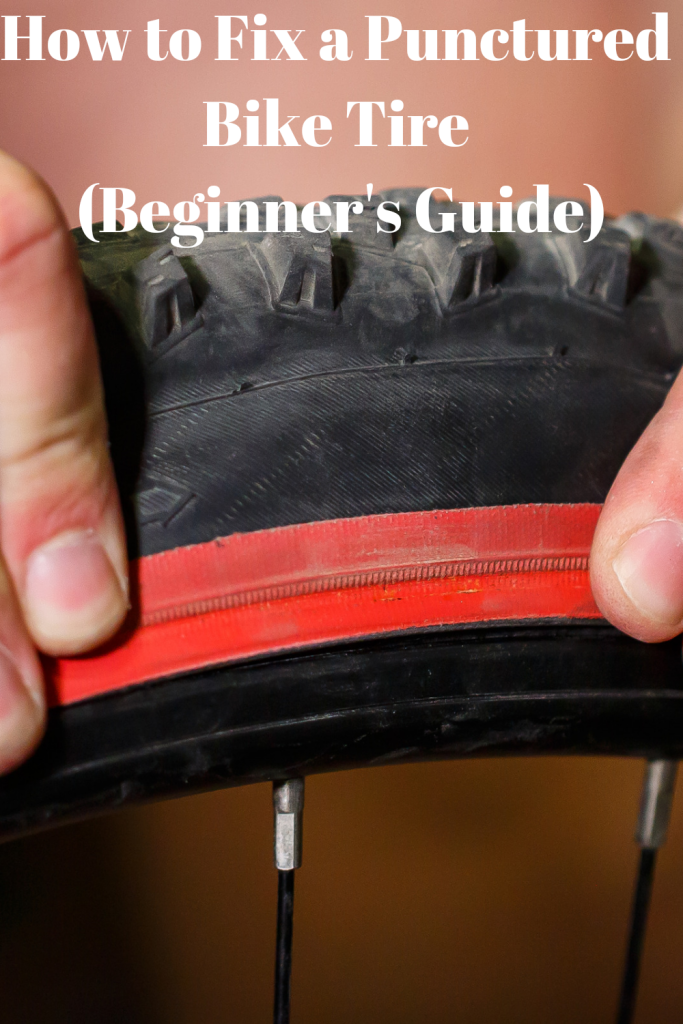
Step 1: Identify the Issue
- Begin by visually inspecting the tire for any sharp objects stuck in it, such as nails, glass, or thorns. Remove any debris you find.
- Inflate the tire and hold it under water or dip it into a bucket of water. Observe for any bubbles forming, indicating a puncture site.
- Dry the tire thoroughly before proceeding.
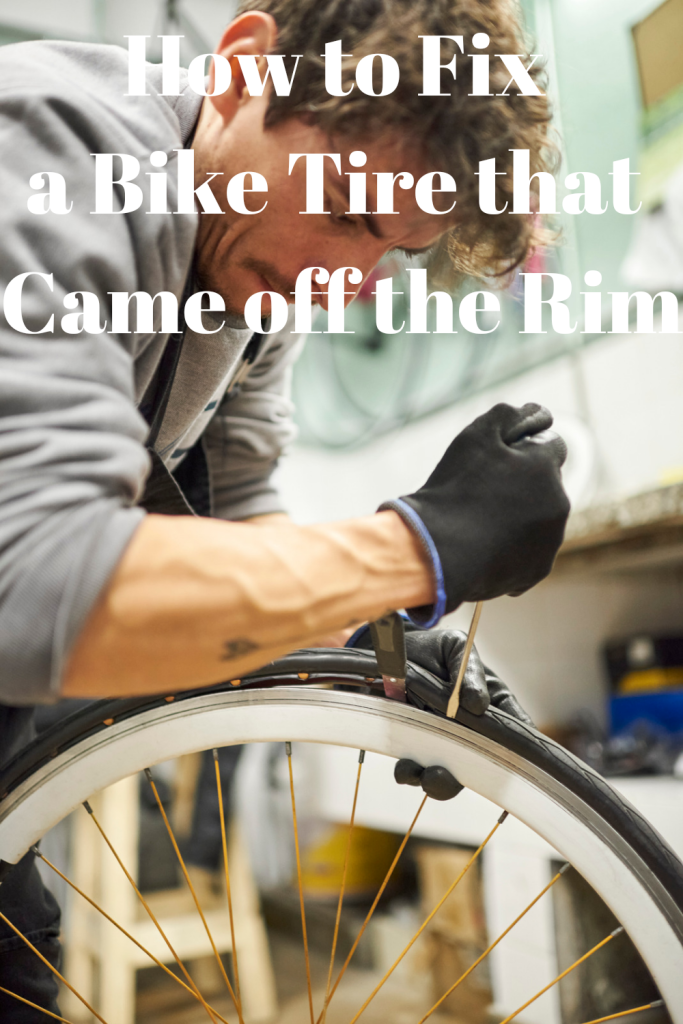
Step 2: Remove the Tire
- Flip your bike upside down or use a bike stand to elevate it, ensuring stability.
- Starting opposite the valve stem, insert a tire lever between the tire bead and the rim. Push the lever down, hooking it to one spoke to keep it in place.
- Insert a second lever a few inches away from the first one, and pry the tire bead over the rim. This should make it easier to remove the rest of the tire.
- Continuing in one direction, gently slide the lever along the rim while lifting the bead over the edge. Repeat this step on the other side until the tire is fully detached from the rim.
Step 3: Patch or Replace the Tube
- Fully deflate the tube by pressing the valve stem.
- Once deflated, use your fingers to remove the tube from the tire, starting opposite the valve stem. Be careful not to damage the tube with any tools.
- Inflate the tube slightly to help identify the puncture. Listen for any hissing sounds or feel for escaping air.
- Once you’ve located the puncture, mark it with a pen or marker.
- If using a patch kit:
- Rough up the area around the puncture with sandpaper provided in the kit.
- Apply a thin layer of rubber cement to the roughened area.
- Wait for the cement to become tacky (usually about a minute), then place the patch over the puncture, pressing firmly.
- Peel off the protective backing, ensuring a secure bond.
- If replacing the tube:
- Ensure the replacement tube matches your tire size and valve type (Presta or Schrader).
- Inflate the new tube slightly to give it shape and make installation easier.
- Starting opposite the valve stem, insert the tube into the tire, tucking the valve stem through the rim hole.
- Gradually work your way around the rim, making sure the tube is evenly positioned and not twisted.
Step 4: Reassemble the Tire
- Begin by placing one side of the tire bead onto the rim. Use your hands to push the bead over the rim, starting at the valve stem.
- If necessary, use the tire levers to assist in sliding the bead over the rim. Be careful not to pinch or damage the tube.
- Once one side of the tire is fully seated, repeat the process for the other side until the tire is securely in place.
Step 5: Inflate and Test
- Inflate the tire gradually, checking that the tube is not pinched between the tire and rim.
- Use a pump or air compressor to reach the recommended pressure range specified on the tire sidewall.
- Visually inspect around the tire to ensure it’s evenly seated on the rim.
- Give the wheel a gentle spin to verify there are no wobbles or obstructions.
- Test the tire’s integrity by pressing on it with your hand and listening for any escaping air.
Conclusion:

Congratulations! You’ve successfully fixed your punctured bike tire. Remember, the more you practice this process, the easier it becomes. Always carry a patch kit or spare tube with you while biking, along with necessary tools.
Regularly inspect your tires for any signs of wear and replace worn-out tubes or tires promptly to maintain a safe riding experience. Happy biking!
Related Articles