Regardless of whether you are riding a street bicycle, a mountain bicycle, or a commuter bike, you can’t get away from the functions of gears. There are many parts to the bike but gears are mechanical conjecture on the bike that gives you the option to accelerate in the level and smooth roads. So it’s important to know how to fix bicycle gears.
It likewise gives you a chance to get the ability to ride the bike on the precarious mountains. Learning how to change gears on your bicycle rewards you with a quick and smooth ride on your bicycle, irrelevant to the landscape on which you are riding it. Correctly accustomed to the bicycle gears will constantly make your journey improved. Sorry to say that, not all bikers are familiar with the correct method of configuring their bicycle gears.
The appropriate method of raising your bike is with a bike stand. Single-speed bikes are popular among commuters residing in flat locations since they require little maintenance. You don’t need to ride a bike with gears some people decide to ride single speed bikes. Discover how to correct the gears on your bike to continue to keep your ride comfortable. Ultimately, before you park your bike, you should diminish the gear position to earn your next start simpler.
Mountain bikes have traditionally arrived with a couple of chainrings to make available quite a few easy gears for climbing. If you’re really intent on getting the most out of your own mountain bike, then you’re definitely going to need to change your gears for the full system to run depending on your weight and strength. At this time, if you wish to make out the appropriate measures in adjusting gears, continue reading.
Understand the Gears
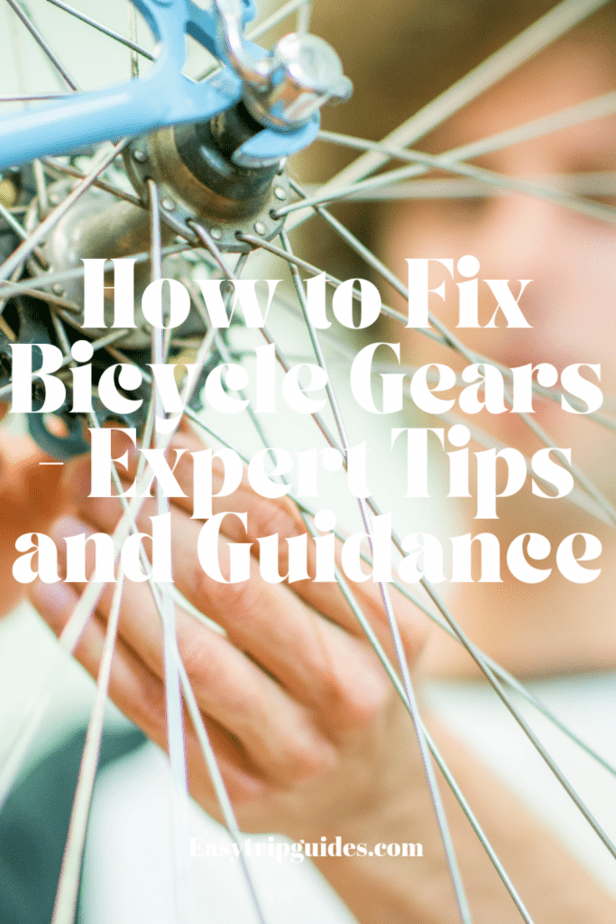
The geared bicycles accompany chainrings in the front. This could be it is possible that one, a few in number. The rings are attached to the wrench arm of the pedal. There are additionally around seven to twelve riggings or machine gear-piece towards the back or what is known as cassette and this is attached to the back wheel. There are several things that can fix bicycle gears.
Check your chain to ensure it isn’t bent. Shift the front derailleur to the middle gear, and run through the full variety of rear sprockets to make sure that the chain doesn’t rub on both sides of the front derailleur cage. In the event, the chain isn’t coming directly off the top jockey wheel and going straight onto the little cog you want to correct the top limit.
If it jumps between gears on its own, tighten the barrel adjuster to add tension. If it falls off the smaller chainring, adjust the inner’ derailleur adjusting screw so that the derailleur does not go so far in. Following your chain is cut to the right length, thread the chain during the rear derailleur and secure the hyperlink.

You might be astounded at how well your bike shifts when you are finished. The shift to the most significant cog is going to be carried out later and easier to fix bicycle gears. Pedal and see whether it makes the shift outward. Making numerous shifts in a brief time needs to be avoided.
You must focus on the cable they need to lock with the appropriate length. When it’s rusty, a new replacement inner cable is required and you ought to think about changing the outer housing also. You’re likely to pull the slack inner wire from the system. Before adjusting the gear it’s important to look at the gear cable and its length and strength.
Understand the gear shifters
The left-hand shifter is regularly be used to switch the front gears. The right-hand shifter is to be used to switch the back gears. The best wear to remember is the right-rear. There are bicycles that have quite recently chairing on the frontal side. These bicycles just have a right-gave shifter. Various bicycles could work in a different way, yet all shifters are pretty much the same.
You should have the ability to fix bicycle gears and see whether the derailleur itself is aligned properly. In the event the derailleur doesn’t move, try out the other limit screw, on Campagnolo derailleurs, it’s the upper one. Otherwise, your derailleur is suitably adjusted. The front derailleur has to be positioned so the outer cage plate is directly in accordance with the outer chainring. A rear derailleur that’s out of adjustment can cause wrong shifts and riding annoyances that don’t just damage equipment but might bring about injury.
When it’s clearly bent, your adjustments aren’t likely to do the job. Some adjustments will require the usage of a couple of tools, and minor adjustments can be produced with no tools in any respect. With practice, you are going to be in a position to create small cable tension adjustments as you are riding. Cable adjusters enable you to make fix bicycle gears. Before you commence working on it, you must loosen the cable adjuster.
Check the Gears Before Use
Check each one of the gears to make sure you’re adjusted then continue. If you drive in a decrease gear, then you’re exerting more power, and not as much speed, last but not least, when you’re about to quit riding, be sure to shift to a lower gear to extend the life span of the transmission. Just take a look at the rear of the bike and see whether the derailleur is lined up straight under the gear the bike ought to be on. Since you may see, adjusting the gears on your bike is simpler than you had imagined.
Every time you shift gears, the duration of chain changes. On the flip side, if you drive with a greater gear, then you’re taxing the engine less, and you’re driving at faster speeds. Just be sure that you turn the adjuster slowly so it will properly fall into the proper gear.
Whether you would like to adjust gears, it’s necessary for you to remove gear cable initially and index gears and chain comfortably. One other important work to do that you have got to alter the gear with each and every gear. You will have to know how to correctly fix bicycle gears to your Shimano Acera gears whether you’re climbing mountains or commuting to get the job done.
Unscrewing the B-tension screw lowers the gap. Be aware that Di2 stopper bolts are not the same as normal stopper bolts. Now, consider shifting to the most significant cog in order to learn where the L-limit screw is presently set. Track down the limit screws at the rear of the derailleur just over the barrel adjuster.
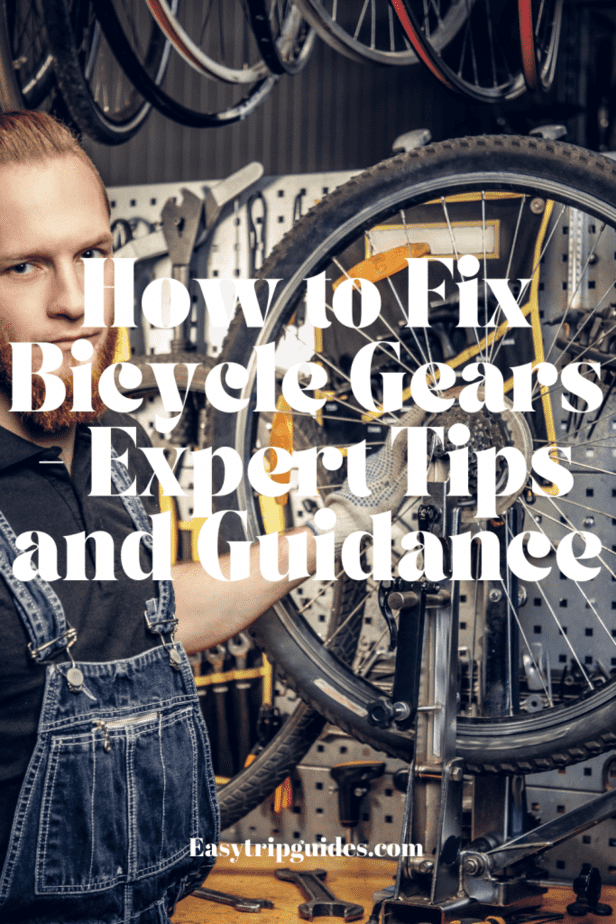
Now I will show you my pictures and videos on how to fix bicycle gears step by step:
Method 1
Raise the bicycle off the ground on a bicycle stand. You should have the option to turn the wheels freely without the bicycle moving. The most ideal approach to do this is with a bicycle stand. On the off chance that you don’t have one, check if your neighborhood bicycle shop or outside the store has a “support night,” where you pay a little expense to access to the entirety of their tools for the evening.
You can further flip around the bicycle, laying it on the seat and handlebars. In the event that you do, yet, know that you should invert the bearing you turn things in the following guidelines.
You can additionally balance the nose of your seat in the notch of a tree or low hanging joist.

Method 2
Find your derailleurs: Derailleur is the machines that physically change your gears and keep your chain set up. There is one on the back wheel attached to the cassette (the assortment of gears) and another littler derailleur closes the pedals. Carefully make sure that there is nothing in the derailleur’s or gears like leaves, sticks, or mud, and cleans them with the wet stuff.
The back derailleur is the more complex machine, comprising of the derailleur, an arm, and 1-2 littler gears that the chain is threaded through. A link pulls this arm to and fro, enabling the chain to change gears.
The front derailleur is holding onto your bicycle’s casing, and comprises of a spring and two “derailleur plates,” or little metal dividers that power the chain to remain on just each gear in turn.

Method 3
Analyze your changing issues by testing each gear. Using one hand to gently pedal the bicycle, change through one gear for each snap, beginning with each gear on the back derailleur than go up each gear once and down each gear once. Note places where the gears strain difficulty for moving, where the chain blunders off the gear, or where you have to move twice to make the bicycle shift.
While testing one derailleur put the other one in the center gear. For instance, in the event that I am trying the back derailleur and I have 3 gears in the front, leave the front derailleur in the center ring the whole time. This keeps the chain from extending.

Method 4
In this process find out the cable adjusters to pursue the cable prompting the derailleur’s to discover the adjusters, which resemble minimal nuts or barrels around the cables. There might be two for each link – one at the derailleur end and another by the handlebars. These make little adjustments to the derailleur links, enabling you to roll out subtle improvements to your moving.

Method 5
Move to your gear which has the problem. While accelerating the bicycle with one hand, change your gears up until you get to an issue, for example, if the chain won’t move, have difficulty remaining on the gear, or skips a gear. Pause moving when you discover an issue, however, keep your bicycle in that gear.

Method 6
At this point release your cable adjuster if the chain won’t move down. In the event that you experience difficulty changing as you bring down your gears (lower gears are nearer to the wheel), at that point release the cable adjuster by turning it counterclockwise. Turn the adjuster gradually, turning until the chain falls into the right gear.
Continuously work slowly, changing by a quarter-turn at once all things considered.
Think of it as turning the cable in the manner in which you need the chain to be moved. Rotate towards the bicycle to make the chain move towards the bicycle.
Try not to release the adjuster too far or it might dissociate from the derailleur. In the event that you have to make a huge change, thread and adjust into derailleur, change into the littlest gear, loosen the pinch bolt, and draw the cable by hand.

Method 7
Fix your cable adjuster if your chain won’t move “up.” If your bicycle struggles to work its way up the gears (away from your bicycle), you should fix the cable adjuster by turning it clockwise. At the point when it is right, the chain will normally change to the right gear alone.
Think about this as turning the adjuster the manner in which you need the chain to move. Rotate away from the bicycle to make the chain move away from the bicycle.

Method 8
Come back to your low gear and move back as far as possible here and there. When you’ve effectively balanced the issues, push through each gear again to ensure that the derailleur can effectively change through each gear. You need the chain to flow easily from gear to outfit each time you move.

Method 9
At last, take a short practice ride to detect some other issues. Once in a while, the bicycle will carry on diversely under your weight. In a parking garage or driveway, ride the bicycle around and burn through any gears. Note any issues and modify your cables in like manner.
How to Use a Particular Gear: Shifting Tips
In the event that you are a bicycle lover, you should know the correct changing of gears. Knowing when to use a particular gear makes certain to take your career more remote from what you anticipated.
Follow the below instructions and do the right gear shifting next time.
Low Gear: The low gear is used for riding upwards. You should switch to this gear as you navigate the steep spots to have a steady and comfortable climb.
Center Gear: At the point when you are riding on a level surface, you have to change to the center gear. The center gear will create little resistance on the pedal however expect a continued run.
High Gear: This gear is best when quickening, sliding, or when you need to ride quickly on a level surface. By using the high gear, you will go far in each progression of the pedal.
Adjust the Rear Derailleur for Super Ride
Gear on Top: Spot the gear switch off the back derailleur to the top bit of gear. At that point, rotate the pedals until it arrives at the littlest bit of the tape. On the off chance that there is a cable adjuster, modify by turning the adjuster clockwise.
Cut out the bolt: After ensuring that the gear switch is fixed on top, the following stage is removing the cable securing screw. Make a point to move the link a long way from the derailleur.
Push the Derailleur Manually: Using your hand, turn the pedal to push the derailleur towards the end wheel. On the off chance that you appropriately modify the derailleur’s screw, the chain will consequently fit the biggest machine gear-piece.
Cover the Clog: In the event that the derailleur misses the mark from the machine gear-piece and fails to get into the spokes, you have to turn the modifying screw clockwise to make it cover.
Last Touch: By using the switch to check every one of the gears. You have to do the last checking a few times. On the off chance that you find that the derailleur is moderate when changing to the lower gears, unscrew the cable adjuster.
Gears and Bike Upgrades
The Number of Bike Gears: The quantity of the bike gears is dictated by simply getting the result of sprockets and the number of front chainrings. Accordingly, if you have 10-speed back the tape with a triple chainring, you will have a 30-speed bicycle set up.
Reasons behind Having Lots of Gears on a Bike: On the off chance that you need to know the reason behind why your bike has bunches of gears, the appropriate response is for kept accelerating even on rough terrains. A high gear or huge gear is moved when going down at high speeds, while the low gear is used to move high grounds.
Single-Speed Bike: In a level land setting, individuals would probably use a single-speed bicycle since it requires low support. Additionally, racers would lean toward the single-speed bicycle to help the weight and wipe out any difficulties from faulty gear shifting.
Final Words
Presently you know the nuts and bolts of how to change gears and it is time that you practice it. Doing a couple of training runs from the outset is energetically prescribed to become master to the gears on your bicycle.
Go through the different gear using your hand and afterward take it out to an empty spot and ride your bicycle to understand the gears better.