I played Disc Golf for a while. Since moving to Kentucky, I have not had much time to play. Oh, Yeah! My love for the game sucks. A basket in my backyard will probably help. I wanted to put a Disc Golf basket for our backyard so I could teach my kids how to play. In this guide, I will teach you how to make a disc golf basket at home. But before that, you must have the right disc golf disc with you.

I checked the website for some cheap disc golf basket. A short video shows me throwing some discs in a homemade basket, and the sound of chains is enough to buy me on the spot.
I researched the DIY disc golf basket dimensions from official sources, so I based the center post’s altitude on that information. After a trip to Louisville to get some raw steel rod, flat stock, and fencing material, I started cutting the necessary pieces. The center post is steel upright for the chain-link fence. Using metal-cutting bands, I quickly cut it into lengths.
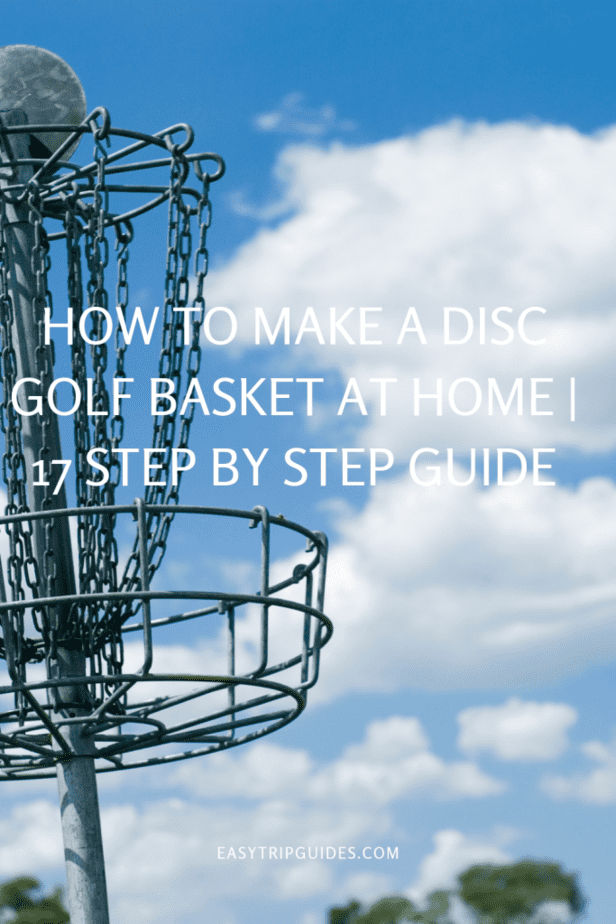
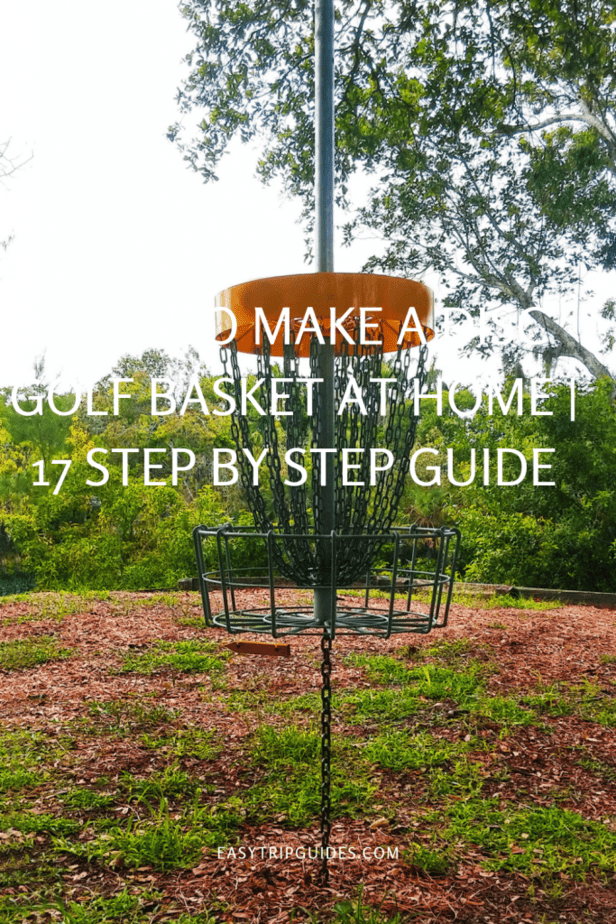
How to Make a Disc Golf Basket at Home
Follow the below 17 steps to make a disc gold baster at home;
- Learn the basket
- Gather the tools you need
- Assemble your parts
- Cut the Chains
- Divide the couplers
- Cut your pole
- Prepare the whiskey barrel liner
- Keep your pole upright
- Couplers, Flanges & Liners
- Save the liner
- Drill and screw, drill and screw
- Search for the Holy Grill
- Make the basket
- Adjust it
- S-hooks around
- Start hanging some chains
- Mount the basket
Now, I will discuss the steps in detail.
Step 1: Learn the basket.
Before you build your basket, go to the course, and look at the basket. Have you ever really seen one? Sure, we throw them away all day but watch the parts like chains, S-hooks, and more chains. This part needs to be checked: how the chains all come together at the bottom.
It helps keep it on your head when you reach that stage of your DIY disc golf basket. If you feel you are incredibly high, take the other side lengths from the inside of the catch basin to the bottom of the chains and from the ground to the catch basin’s bottom.
Keeping these in hand will allow you to adjust your hardware disc golf basket.
Step 2: Gather the tools you need
Bolt cutters
[amazon box=” B015W3BAW6″]
Pliers
[amazon box=” B0105SSMRO”]
Flat-head screwdriver
[amazon box=” B07G3CWXPD”]
Razar sword
[amazon box=” B00132H4OE”]
Drill and 7/32-inch drill bit
[amazon box=” B0829VHGKJ”]
Round file, sandpaper, or Dremel tool
Step 3: Assemble your parts
Here is what you need.
- 1:18 gauge fence post 1-5 / 8-inch diameter, 5.5 feet long
- 1: 7-inch whiskey barrel liner
- 47 feet: 2/0 straight link chain
- 1: 3-inch to 1-1 / 2-inch PVC coupler
- 2: 1-1 / 4-inch to 1-1 / 4-inch rubber coupler through steel pipe clamps
- 1: 22-inch round grille sash
- 3: 1-1 / 2-inch galvanized Floor edge
- 8: 1 / 4-20 Stove bolts 1-inch long
- 8: 1 / 4-20 Nylon lock nuts
- 4: 5/16-inch fender washers
- 12: 3/16-inch x 1-1 / 2-inch hook with nut
- 24: 1-1 / 2-inch open S hooks
- 2: 3-1 / 4-inch adhesive locking rings
- 1: 1-1 / 4-inch PVC cap
- 6: Zip ties
Step 4: Cut the Chains
Start cutting the chain. You will need a 24 length chain. Each chain is 23 inches long. Beg, borrow or steal to get your hands on good-sized bolt cutters. You can get it through some links with a hawk saw, drill tool, or angle grinder, but bolt cutters do the job much faster. Once you have cut all the chains, and then set them aside.

Step 5: Divide the couplers.
Take two 1-1 / 4-inch to 1-1 / 4-inch rubber couplers with steel hose clamps and cut them in half using your razor blade. Do not cut your fingers.
Step 6: Cut your pole
Identify how your finished disc golf basket will be arranged (see the last step). If it is on a patio umbrella stand, cut the fence post to a 57-inch height using your hawk saw. If you set your basket on the ground, leave the pole alone.

Step 7: Prepare the whiskey barrel liner.
Open a hole in the underneath of the 7-inch whiskey container liner. Find the center; mark the cutout circle as a template using a large hole in one of the galvanized floor flanges. Cut the hole using your razor knife. While you are on it, drill three inches apart in the four areas raised in the whiskey barrel liner for drainage.

Step 8: Keep your pole upright
If you work alone, you will need a patio umbrella stand or some other temporary support to keep the fence post upright when you assemble the basket. If you do not have easy access to anything like that, make a friend and help them.
The primary step is easy: position the fence post upright. We are going to start slipping to the bottom on all the parts at the top.

Step 9: Couplers, Flanges & Liners, Oh My!
Loosen the hose clamp from 1-1 / 4-inch to 1-1 / 4-inch rubber coupler half and slide over the pole. You want this part to be 30 inches above the pole. Tighten the hose clamp. Now slide one of the 1-1 / 2-inch galvanized floor flanges, facing the flat side upwards, under the pole to rest on the rubber coupler.
Next, place the whiskey barrel liner. From the base, use the holes in the floor extension as a guide to drill through the whiskey barrel liner. Add another 1-1 / 2-inch galvanized floor flange, flat side facing down. Secure with bolt and nut.

Step 10: Save the liner
Loosen the hose clamp from 1-1 / 4-inch to 1-1 / 4-inch rubber coupler half and slide over the pole. Push down firmly on the whiskey barrel assembly and tighten the hose clamp.
Step 11: Drill and screw, drill and screw
This stage consists of a 3-inch to 1-1 / 2-inch PVC coupler and measure around the complete end. It should be close to 12 inches—Mark every inch or more, 3/4-inch down from the open end. Drill a 7/32-inch opening at every one of these marks.
Insert a 3/16-inch x 1-1 / 2-inch hook into each hole and secure with a nut to the inside of the PVC coupler. Tighten each one very nicely, but be careful not to crack the PVC. Once all the hooks are secured, use the bolt cutters to cut the extra threaded part of the hook inside the PVC coupler.
Step 12: Search for the Holy Grill
Grip the bolt cutters again and remove a spot in the dead center of the grill sill so that it slips through the fence post. The orange circle on the right in the center of the picture should give you a general idea of where to place the sash. If you do not have bolt cutters, a drill tool with a cutoff wheel or angle grinder will do the trick.
If you have a hole for a fence post, align the hole in the 1-1 / 2-inch galvanized floor extension with the iron frame’s hole for the grill windows. The flat side grille of the extension should be on the side of the sash. Push a bolt upwards through the iron frame that attaches to the grill windows. On the iron frame of the grill windows, secure the bolt with a washer and nut.

Step 13: Make the basket.
Take time to assemble the top of the disc golf basket. Loosen the hose clamp from 1-1 / 4-inch to 1-1 / 4-inch rubber coupler half and slide the top over the hose clamp side towards the pole. Tighten the nut to keep it in place, and you will fine-tune the placement later.
Now see if the piece of PCV with hooks fits. You will need to sand/file/grind from the short end to fit the fence post. Slide down the fence post to rest on the rubber coupler. Next, place the grill on the post with the flame of the galvanized floor flange resting on the PVC part.
Loosen the hose clamp on the remaining rubber coupler and slide it over the post with the hose clamp facing downwards. Press a 1-1 / 4-inch PVC cap over the top of the fence post

Step 14: Adjust it
Fine-tune the placement of the upper parts, loosening the hose clamps as needed. Once everything is in place, secure the hose clamps securely.
Step 15: S-hooks around
Hang the iron frame on the grill with the Orange Xs. With pliers, the S-hook closes around the iron frame that attaches to the grill windows. For the two S-hooks that rest near the grille windows, secure them in the center position with the three zip tiles, as shown in the picture.

Step 16: Start hanging some chains.
Hang chains on each S-hook on the iron frame of the grill windows. Close the S-hook around the chain. Open one of the 3-1 / 4-inch adhesive locking rings, place it around the fence post inside the whiskey barrel liner and start threading the chains in the ring.
While all the chains are in the right position, close the ring. Now attach the S-hooks to each eye-hook on the PVC piece; S-hooks closed. Hang the chain on each S-hook, and the S-hooks will close. Exchange the inner chains between the outer chains, and thread the inner chains into the remaining hinged locking ring.

Step 17: Mount the basket
If you stick it in the patio umbrella holder, you’re done. Congratulations. If you want to do this on earth, there is little or more work than you can do. Your fence post should be 66-inches long and the disc golf basket 55 inches long. That means you have to drill a hole 11-inches deep.
The post hole digger works best for this. Dig a hole a few inches deep to add some gravel for drainage. Lay the 1-1 / 4-inch PVC pipe (its diameter is slightly larger than the fence post) level in the hole, fill the hole with quick-dry post cement, add water, and check back to the level it. When the cement dries, pull out the PVC and stick your basket to the ground.
Disc golf goal is as frustrating as real golf. Because this game follows a lot of real golf rules and adequate effort has to be put together to achieve disc golf basket blueprints.

Conclusion
If you love laying disc golf and want to make Disc Golf Basket at Home then congratulations you have learned step by step how to do it. Get the recommended tools and start working simply following the steps and you are done.