Maybe today, some people wonder how to put a slipped or fallen bike chain back on. You have seen it on YouTube or in Manuals, but we must tell you what to do!

A chain out of gears can be due to numerous drawbacks, poor shifting skills, a reasonably extended chain, or a worn chain or gears. Users say that we must replace the chain when it reaches 0.5% wear. This is recommended, especially on 11 and 12-speed chains.
The best thing in this sense is that put chain back on the bike with gears. A bike chain collects links with pins, plates, and rollers that connect your front and back gears, making it easy to pedal. Chains slip through various causes, such as incorrect shifting and shocks, but are simple to reassemble.
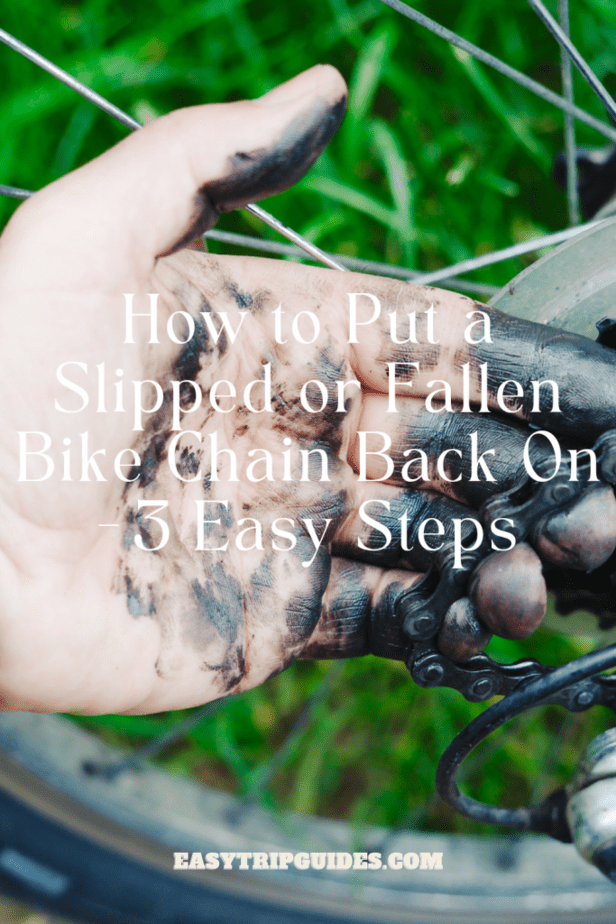
Your hands can get a little greasy, but you’ll be pedaling again soon. There are different procedures to use that have the possibility of getting you out of a jam.
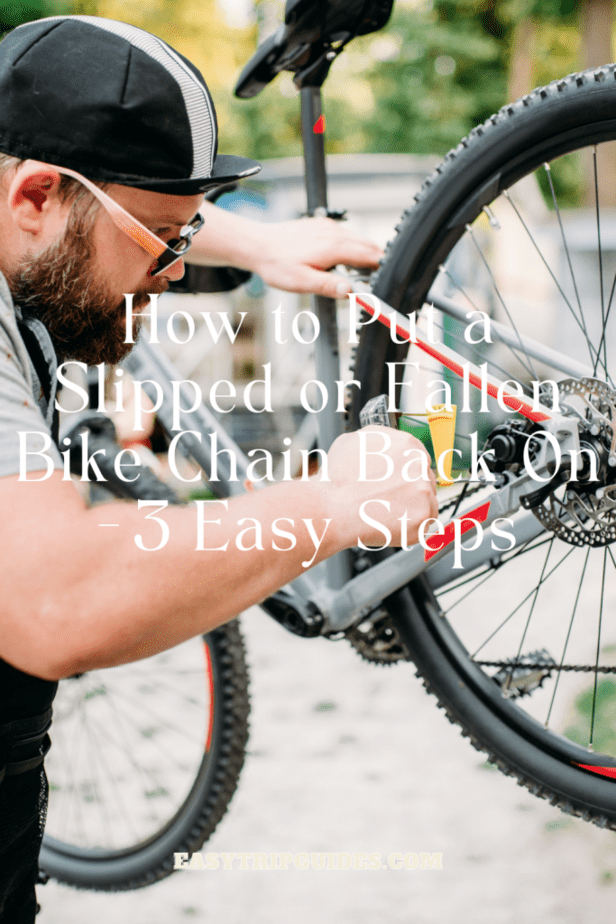
How to Put a Slipped or Fallen Bike Chain Back On
Method 1: Reattach the chain
- First, inspect the drive chain.
- If any parts are bent or broken, repair or replace them before replacing the slipped chain.
- Be sure to investigate the chain itself and the derailleurs and cassette that are the gears. This is fundamentally substantial after a crash to make sure there is no damage.
- After fixing the bike chain, it is an acceptable initiative to examine the cassette, derailleurs, and limit screws to see if they are correctly adjusted or checked if the replacement is required. In short, what is needed is that you put the bike chain back on the derailleur?
- Turn the bike upside down. Alternatively, hang it from a bike rack. Remember to set it at 0.5% on one side and 0.75% on the other.
- This will make it easier to attach the chain and will prevent the bike from rolling while you work.
- Turn the bike over so that it sleeps well on the stool and handlebar, positioning it delicately to avoid scratching or scuffing.
- Bicycle stands hold the bike in the air with the right side up and are great for care.
- However, since most chains slide down the road, you may not have access to one.
- Instead, you can place the front of the stool on a sizeable horizontal pole. Keep the bike about 4 feet off the ground or at least prominent enough so that the rear wheel does not touch the ground.
- Change the bike tire tube regularly.
Keep in mind what gear the bike is in
- Derailleurs are the small machines in the front and rear gears that physically move the chain from one bag to another.
- See where you are currently resting by looking down at the derailleur: it will be aligned with the gear. Remember to chain back on this gear.
Adjusting the rear derailleur arm toward the handlebar to loosen the chain
- This is the small metal arm on the side of the gear at the bottom of the derailleur. In most cases, there is a small metal square right next to the equipment that makes it easy to move the derailleur without greasing it too much.
- It should be gently bent towards the front of the bike so that the chain hangs very loosely.
Use your other hand to move the chain backward in the precise gear.
- Lift the chain with 2 or 3 fingers and place it on the corresponding rear gear.
- Bring the other chain radical to the bottom of the front gear and hold it there.
- There should be enough slack to accommodate 10-15 teeth on the gear in the chain slots. Slowly release the derailleur when you have a few teeth back in their place.
- You can use a pencil, pen, or stick to advise the gears chain if you do not want to use your fingers.
Slowly turn the bike backward by one full turn with your hand.
- After the first rotation, pedal forward for 2-3 more spins to ensure the chain is firmly in place.
- Be sure to pedal in the correct direction: the rear wheel will move as you pedal forward, but not backward.
Method 2: Replacement of a slipping chain
- Find the slide
- Sometimes, while driving, the chain will go out of its suspected path, but it will not break.
- Because, in this situation, the chain still passes through the front and rear derailleurs, no special care is required; the only common thing to do is to move the chain back over its sprocket.
Use the light release if the chain is stuck.
- Sometimes, the chain gets stuck between the rear sprocket and the frame in case of a slip.
- In this situation, it is an acceptable initiative to loosen the rear wheel light release mechanism and loosen the wheel nut to reduce the chain’s rear wheel.
- When you have loosened the rear wheel sufficiently, pull the chain.
Loosen the chain if you feel your bike has a rear derailleur
- Bikes with a rear derailleur loosen the chain and roll it up near the front sprocket.
- On most bikes, the rear derailleur has a spring to keep the chain tight while riding.
- Take advantage of this by pushing the rear derailleur’s arm forward to put some slack in the bike’s chain. Then, proceed to use this slack to thread the other chain root near the smaller front sprocket. Release the rear derailleur arm and make sure the chain is tight.
Turn the pedals on without a derailleur.
- For bikes without a derailleur, grip the chain on the sprocket while pedaling. Many bikes (such as “fixes”) do not have derailleurs.
- The simplest way to recompose a loose chain in this situation is to hook the chain onto the rear sprocket, hook the most considerable viable amount of chain onto the bottom of the front sprocket, and carefully turn the pedal back.
- The chain should “snag” and begin to turn near the front sprocket.
- When the “caught” part reaches the top of the front sprocket, the chain should begin to run through the bike’s gears as a practice.
Gently pedal forward until the bike is in a precise place.
- Turn on your bike and pedal forward at low agility. If your bike has gears, your chain may “jump” back to the bag it was in when the slip occurred.
- Otherwise, keep changing gears until the chain pedals smoothly.
Make some final checks.
- Before resuming everyday driving, be sure to practice driving. If your bike has them, change gears at both the front and rear derailleurs until the chain turns smoothly without producing any noise. This is how you can adjust the rear derailleur.
- One piece of advice is that you should keep in mind that 9-speed transmissions need 9-speed chains and so on.
Maintenance of the Bike:
Re-fix a bike chain that fell off and prevents it from happening again.
Step 1:
- Turn the bike over
- Rest the bike on the bike’s handlebars and stool to make it easier to get in and put the chain back in the gears.
Step 2:
- put the chain back on
- The best is to put a bike chain back on a single speed.
- Start by placing the chain near the reduced gear on the rear axle of the bike.
- Now, put some of the chains near the large gear with the pedals on the side facing the stool.
- Keeping one hand on the chain to guide it, begin to pedal the bike slowly.
- This should ultimately relocate the chain to the two gears.
Preventing the inconvenience
Step 1:
- Loosen the rear axle bolts
Step 2:
- Pull the wheel back until the chain is shown.
Step 3:
- Make sure the wheel is straight, or the bike may wobble while riding.
Step 4:
- Tighten the bolts on the rear axle.
Step 5:
- Finish the job!
- Sometimes, if you connect a chain that does not use a master link, the pin you use to tie the chain’s ends can make the link rigid. This can result in a snagging or rough spot on the pedal. To fix this problem, work the links on each side of the fixed link in a direction perpendicular to the way the chain turns (i.e., on the bias).
- A useful tip is to use a small, thin metal part called a “C-hook” to hold the chain’s two ends close together. This gives you the possibility to work easier since you don’t have to worry about keeping the chain in place and probably losing one of the ends. If necessary, a bent clip can replace a real C-hook.
Conclusion
If your chain keeps slipping out of place, our chain or gears are undoubtedly much worn. Have a mechanic check your bike and determine what needs to be replaced.
Some bikes, such as fixed-gear bikes (“fixes”) and bikes with a shifter mechanism in the hub, do not have a derailleur. In these situations, thread the chain onto the rear sprocket, rotating the wheel as necessary. Maybe you can purchase all equipment you need.