How to put bike chain back on derailleur
Reattaching a bike chain onto a derailleur is a common maintenance task that any cyclist should know how to do.

With this step-by-step guide, you will be able to confidently reattach a bike chain back onto your derailleur, ensuring a smooth and secure ride. Before we begin, ensure you have the following tools at hand:
- Chain tool
- Needle-nose pliers
- Bike lubricant or chain oil
- Rag or towel
Step 1: Gather the necessary information
Before reattaching a bike chain, ensure you know the chain type and correct length for your bike. Consult your bike’s manual or a bike mechanic if unsure.
Step 2: Inspect the chain for damage
Check for any bent or jammed links on the chain. If you find any, use needle-nose pliers to carefully straighten or remove them before proceeding.
Step 3: Preparing the bike chain
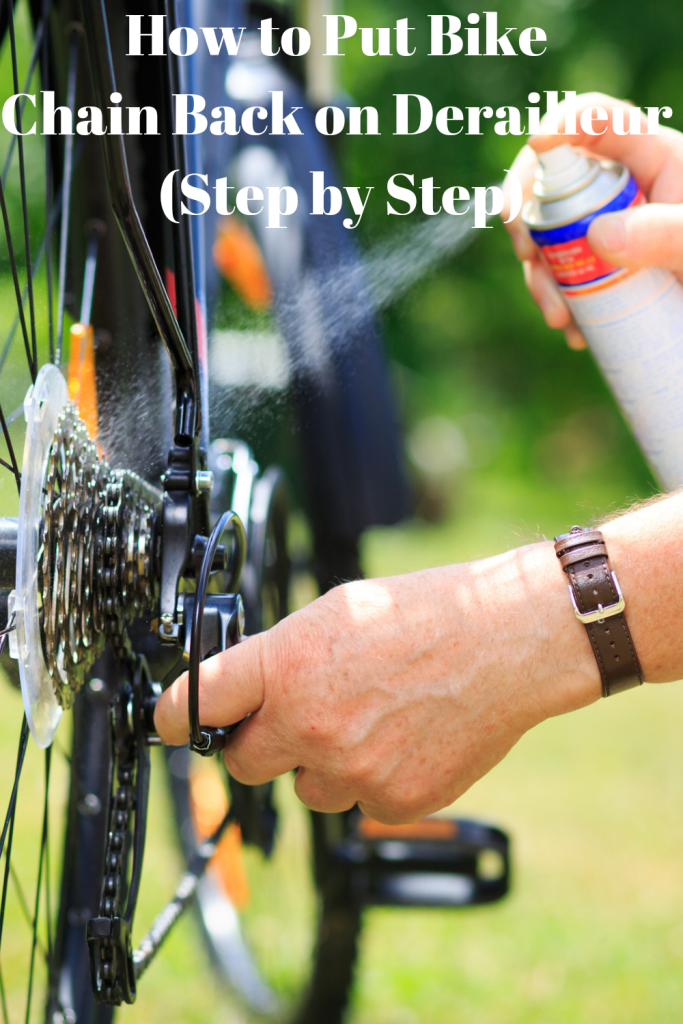
If the chain is dirty or dry, clean it using a rag or towel. Apply bike lubricant or chain oil while rotating the chain to ensure it is well lubricated.
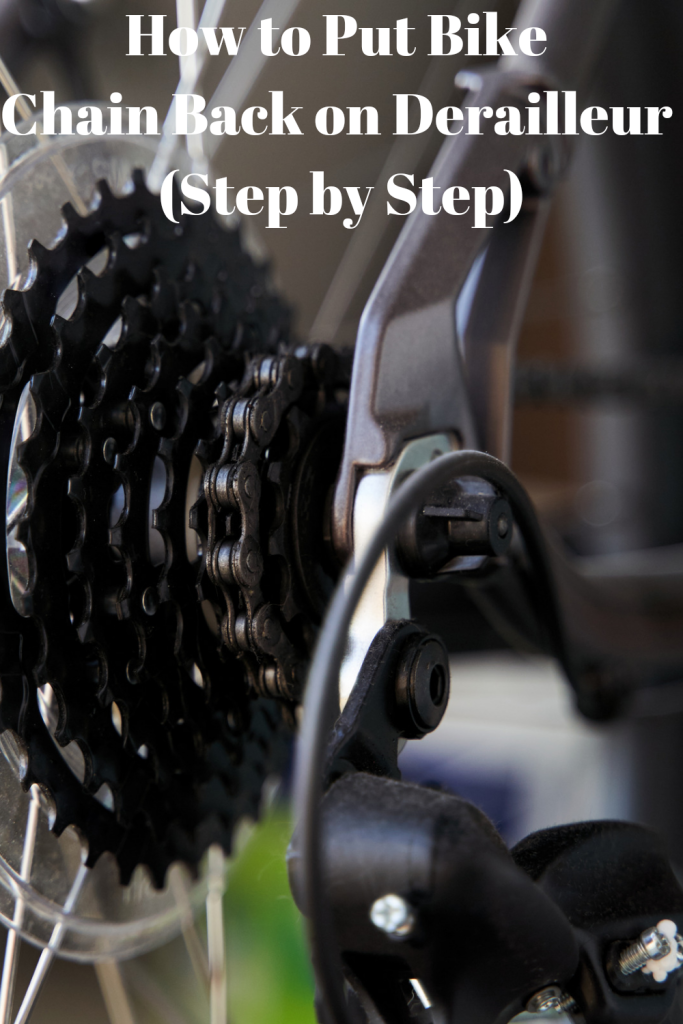
Step 4: Identify the derailleur mechanism
Take a moment to familiarize yourself with the parts involved in reattaching the chain. This will help you understand how the chain should be correctly placed.
Step 5: Thread the chain through the derailleur
Starting from the rear derailleur, carefully thread the chain through the derailleur’s jockey wheels while keeping it under tension. Ensure the chain is sitting properly on the derailleur’s pulleys.
Step 6: Thread the chain around the cassette and front chainring
Continue threading the chain through the bike’s cassette, ensuring it is properly seated on each cog, and then around the front chainring. Pay attention to the chain’s direction of travel while threading.
Step 7: Connect the chain ends
Join the ends of the chain together using a quick-link or reconnecting the chain pins. If using a quick-link, follow the specific instructions provided by the manufacturer. If reconnecting the chain pins, use a chain tool to push the pin in to hold the links together.
Step 8: Test the chain’s tension and shifting
Ensure the chain is properly tensioned by gently pedaling the bike forward. The chain should not be overly tight or loose. Also, shift through all the gears to verify that the chain moves smoothly between cogs.
Troubleshooting Tips:
- Bent or jammed links: Use needle-nose pliers to carefully straighten or remove the damaged link.
- Excessive chain slack: If the chain appears too loose, refer to your bike’s manual or consult a bike mechanic for proper chain tension adjustments.
- Difficulty shifting gears: If the chain experiences difficulty shifting, it may require additional cleaning or lubricating. Consider using a degreaser on a heavily soiled chain.
Visual Aids:
Consider using the following resources to enhance your understanding:
- Diagrams showcasing chain threading through derailleur, cassette, and chainring.
- Video tutorials that illustrate each step in real-time.
Conclusion:
By following this step-by-step guide, you should be able to reattach a bike chain onto a derailleur with confidence.
Remember to check for any damaged links, properly thread the chain through the derailleur, cassette, and chainring, and secure the chain ends correctly.
Should you encounter any issues, consult the troubleshooting tips or seek assistance from a professional bike mechanic. Happy riding!
Preventing Bike Chain Rust: Effective Methods and Maintenance Tips
Cycling enthusiasts understand the importance of a well-maintained bike chain. However, one common enemy that can compromise its performance and longevity is rust.
In this blog post, we will explore the various factors that contribute to chain rusting and discuss effective methods for prevention.
Additionally, we will delve into the different lubricants and protective coatings available, providing step-by-step instructions on how to clean and lubricate your bike chain to minimize rust formation. Let’s dive in!
Factors Contributing to Chain Rust:
- Moisture: Water is the main catalyst for rust formation on bike chains. Rain, humidity, and even excessive sweat can contribute to chain corrosion.
- Environmental Elements: Road grime, dust, salt, and other pollutants present in the air can accumulate on the chain, creating an abrasive environment that promotes rusting.
Types of Lubricants and Protective Coatings:
- Oil-Based Lubricants: These lubricants are specifically designed for bike chains and penetrate deep into the chain links to reduce friction and provide corrosion protection. However, oil-based lubricants tend to attract dirt and grime, requiring more frequent cleaning.
- Dry Lubricants: These lubricants create a protective layer on the chain and do not attract dirt as much as oil-based lubricants. However, they might not offer the same level of protection against corrosion and may need more frequent application.
- Ceramic-Based Lubricants: These advanced lubricants are ideal for long rides or wet conditions as they provide ultra-low friction and excellent resistance to water. However, they tend to be more expensive than other options.

Proper Chain Maintenance – Cleaning and Lubrication:
Step 1: Preparation
- Choose a clean, well-ventilated workspace.
- Place a clean rag or newspaper to catch any dripping lubricant.
Step 2: Cleaning
- Use a chain cleaning tool or a soft brush and mild degreaser to remove dirt and grime from the chain.
- Thoroughly rinse the chain with clean water to remove any remaining degreaser residue.
- Dry the chain with a clean cloth or allow it to air dry completely before proceeding.
Step 3: Lubrication
- Apply a few drops of your chosen lubricant to each chain link, focusing on the inner side.
- Rotate the pedals backward to allow the lubricant to penetrate the chain.
- After a few minutes, use a clean cloth to wipe off any excess lubricant from the chain’s outer surface to prevent attracting dirt.
Additional Tips and Tricks:
- Store your bike indoors or in a covered area to minimize exposure to moisture and environmental elements.
- Regularly inspect your chain for signs of rust or wear. Catching it early can prevent further damage.
- Avoid over-lubricating your chain as excess lubricant can attract dirt and grime, accelerating rust formation.
Conclusion:
Preventing rust on your bike chain is crucial for maintaining optimal performance and extending its lifespan.
By understanding the factors that contribute to chain rusting and adopting effective preventive measures, such as proper cleaning and lubrication, you can ensure a corrosion-free chain.
Remember to choose the right lubricant for your riding conditions and regularly inspect your chain for signs of rust or wear.
Through regular maintenance, you can enhance your biking experience and enjoy smoother rides for longer periods. Happy cycling!
Related Articles