How to Repair Bike Guide
Repairing your own bike can be a rewarding and cost-effective experience.
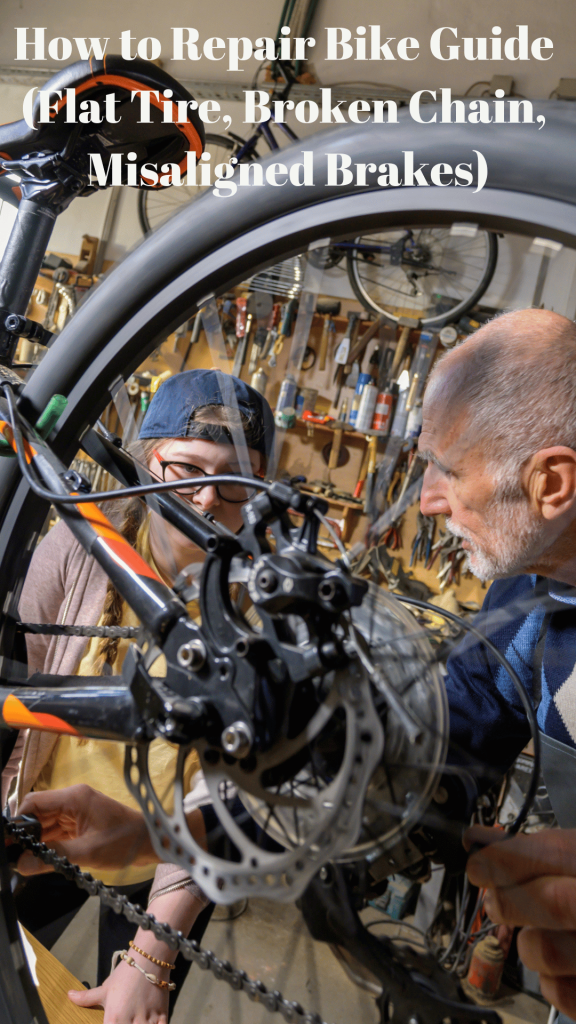
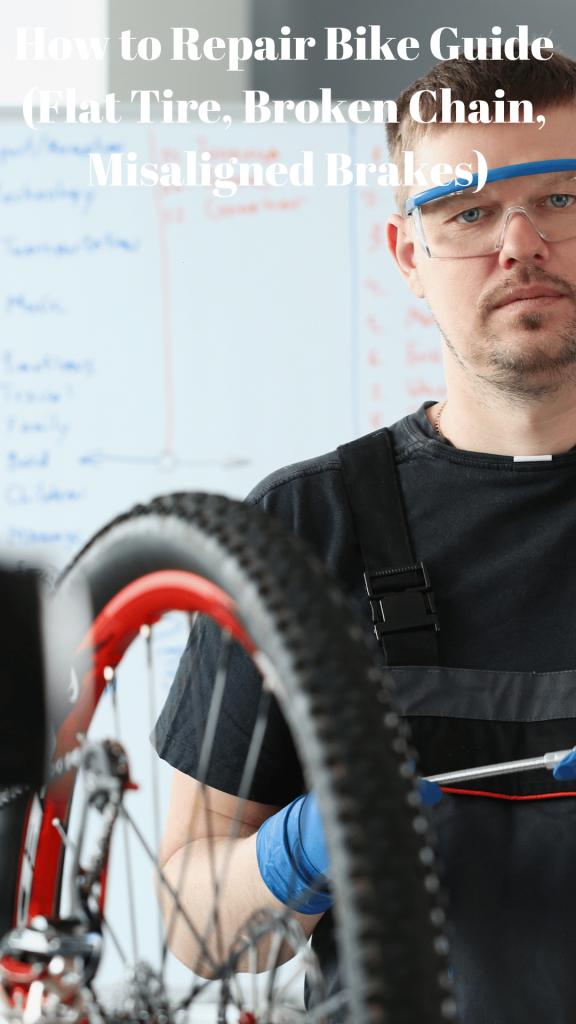
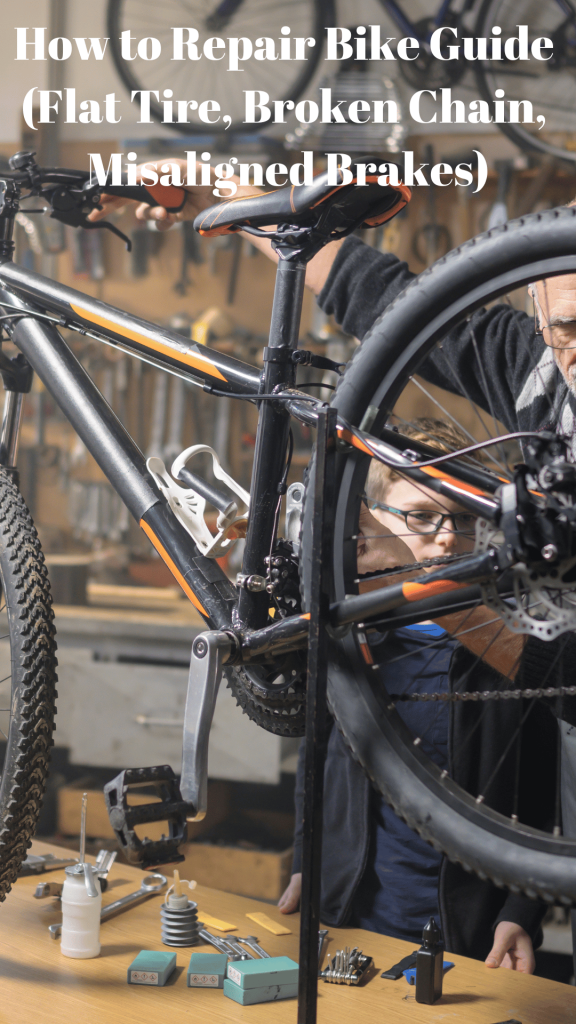
This step-by-step guide is designed to help beginners understand the repair process thoroughly and ensure a successful and safe bike repair experience.
Along with detailed instructions, we have included high-resolution images and diagrams to aid in comprehension.
Before starting any repair, remember to prioritize safety by wearing appropriate protective gear and taking necessary precautions.
Efficient Bike Repair:
Before Starting:
- Gather all necessary tools and equipment, including: tire levers, patch kit, spare tube, pump, chain tool, lubricant, adjustable wrench, and Allen wrenches.
- Find a clean and well-lit workspace to work on your bike.
- Wear gloves and eye protection to protect yourself from any potential injuries.
Tools Needed
- Adjustable wrench
- Allen key set
- Tire levers
- Chain breaker tool
- Lubricant (bike-specific)
- Bicycle pump
- Screwdriver set
- Clean cloth
- Bike stand or sturdy support
- Repair stand (optional)
a) Flat Tire Repair (Method 1)
- Flip your bike over, resting it on the handlebars and seat to expose the flat tire.
- Use tire levers to carefully remove the tire from the rim by hooking the lever under the bead and popping it off.
- Inspect the tire for any debris or sharp objects that may have caused the puncture.
- Use the pump to partially inflate the spare tube before inserting it into the tire.
- Begin by inserting the valve stem into the rim hole and work your way around, gradually pushing the tube into the tire.
- Before fully inflating the tire, ensure the tube is correctly aligned within the tire and the tire bead is seated properly on the rim.
- Inflate the tire to the recommended pressure, which is usually written on the sidewall of the tire.
- Install the wheel back onto the bike, ensuring it is securely attached and the quick release or axle nuts are tightened.
b) Broken Chain Repair:
- If your chain breaks, stop pedaling immediately to prevent further damage.
- Use a chain tool to remove the broken link in the chain.
- If a spare link or quick-link is available, use it to replace the broken link.
- If not, use the chain tool to push the chain pin back into the broken link, leaving approximately 2mm protruding from each side.
- Reconnect the chain using the chain tool by lining up the link and pressing the pin back in until it is flush with the outer links.
- Check the chain for proper tension by shifting gears. If necessary, adjust the tension using the derailleur’s barrel adjuster.
c) Misaligned Brakes:
- Inspect the brake pads for wear or contamination. If necessary, replace the pads.
- Check the brake pads’ alignment with the rim by looking for equal distance between the pad and both sides of the rim.
- Use the appropriate Allen wrench to loosen the brake pad bolts.
- Align the pads symmetrically with the rim’s braking surface, ensuring they do not touch the tire.
- Tighten the brake pad bolts securely, without over-tightening.
- Check the brake lever action and adjust the cable tension if needed using the barrel adjuster near the brake lever.
Beginner’s Guide to Repairing a Bike
d) Flat Tire Repair (Method 2)
a. Safety Precautions: Always perform this repair on a flat and stable surface.
b. Common Issues: Punctures, leaks, or worn-out tires.
c. Repair Process:
i. Remove the wheel using an adjustable wrench.
ii. Insert tire levers between the rim and tire bead to remove the tire.
iii. Inspect the inner tube for punctures, leaks, or damage.
iv. Patch the puncture or replace the inner tube.
v. Inspect the tire for any sharp objects and remove them.
vi. Reinstall the inner tube, ensuring it is properly seated.
vii. Use tire levers to reinstall the tire onto the rim.
viii. Inflate the tire to the recommended pressure using a bicycle pump.
ix. Reinstall the wheel.
e) Chain Repair and Maintenance:
a. Safety Precautions: Wear protective gloves to avoid injury.
b. Common Issues: Chain slipping, excessive chain wear, or noisy chain.
c. Repair Process:
i. Use an adjustable wrench to loosen the rear wheel axle nuts and move the wheel backward.
ii. Locate the chain breaker tool and position it onto a chain link.
iii. Turn the screw to push out the chain pin, separating the chain.
iv. Remove the damaged chain or clean the chain thoroughly.
v. Lubricate the chain with a bike-specific lubricant, removing any excess.
vi. Reconnect the chain by matching the correct links and using the chain breaker tool.
vii. Adjust the chain tension if necessary and ensure it moves smoothly.
viii. Tighten the rear wheel axle nuts securely.
f) Brake Adjustment:
a. Safety Precautions: Never touch the brake rotors with bare hands.
b. Common Issues: Squealing, weak braking, or misalignment.
c. Repair Process:
i. Use an Allen key to loosen the brake caliper mounting bolts.
ii. Realign the brake pads so they are equidistant from the rim on both sides.
iii. Hold the brake lever and tighten the caliper mounting bolts.
iv. Inspect the brake pads for wear and replace if necessary.
v. Adjust the brake cable tension using the barrel adjuster.
vi. Test the brakes by squeezing the brake lever to ensure proper operation.
g) Gear Adjustment:
a. Safety Precautions: Perform this repair on a bike stand, if possible.
b. Common Issues: Gear skipping, sluggish shifting, or misalignment.
c. Repair Process:
i. Shift the chain to the smallest chainring and smallest rear cog.
ii. Use an Allen key to loosen the rear derailleur bolt.
iii. Align the derailleur with the chain by adjusting the high and low limit screws.
iv. Pedal and shift through all gears to ensure smooth and accurate shifting.
v. Adjust the cable tension using the barrel adjuster if needed.
Time-saving Tips and Tricks:
- Keep all necessary tools and materials organized and easily accessible in a bike tool kit or toolbox.
- Familiarize yourself with your bike’s components and their functions to speed up troubleshooting and repairs.
- Regularly clean and lubricate your bike’s drivetrain to prevent excessive wear and make future repairs more efficient.
- Practice tire repair and chain replacement techniques before encountering an actual issue to improve speed and efficiency.
Troubleshooting Challenges:
- If a flat tire won’t hold air, check the inner tube and tire for any remaining debris causing another puncture.
- If the chain keeps breaking, inspect the derailleur jockey wheels, chainrings, and cassette for signs of excessive wear. Replace components as necessary.
- If brake alignment issues persist, check for loose or worn brake components like caliper mounting bolts, pivot points, or brake bosses. Tighten or replace as needed.
Remember, honing your bike repair skills will increase your efficiency over time. If a repair seems beyond your ability, consider seeking help from a professional bike mechanic.
Conclusion:
By following this comprehensive step-by-step guide, beginners can confidently repair their bikes.
Remember, safety should always be the top priority, and seeking professional assistance is recommended
if you are unsure about any repair process. Regular bike maintenance and inspection will ensure your bike remains in optimal condition for safe and enjoyable rides.
Related Articles